The Current Challenge over at Art Impressions is to use water-based inks to make a card. This challenge celebrates the release of 3 new watercolor sets andI couldn't let a watercolor celebration pass without making a watercolor card. SO... I pulled out my newest watercolor set, Blooming Birdhouse, and made this cute little piece.
It just makes me happy to sit down with all of my watercolor stamps and a big bunch of markers to play. This card was made with all Marvy colors (I think!).
The
watercolor paper and mat were both cut with circle dies and then
layered on a pretty teal 4.25" square card. I happened to have a scrap of purple
ribbon in the perfect shade, so that was tied around for a fun accent. I
really love the way the colors pop on this one!
Thanks for checking out my card!
Wednesday, November 4, 2015
Water-based Inks
Even though the challenge is in celebration of the new watercolor sets, I decided to try something different and do some water coloring to fill in an image. I have watched Bonnie Krebs (Art Impressions owner and designer) watercolor one of the "girlfriends" images several times at stamp conventions and she makes it look so easy that I decided to try it myself.
I used stamps from the Shop Set, along with some distress inks (Stormy Sky and Victorian Velvet) and a few Spectrum Aqua markers (don't remember the color names- but they provided all of the brown tones in the card) smooshed or scribbled onto my palette. It was fun, but certainly not a quick as Bonnie can do it!
After it dried I die cut it with one of my new stitched rectangle dies from Gina Marie and layered it with some solid colored card stock and a strip of patterned paper. The card is finished off with a die cut tag embossed with one of the sentiments from the stamp set.
After I was done with that card, I just couldn't leave it at that. I HAD to make a watercolor card too! Click here to see the second card I made.
Thanks for checking out my card!
Sunday, November 1, 2015
Halloween!
It was a busy October around here, with all kinds of stuff getting made- cookies, Halloween costumes, and jack-o-lanterns in particular. Here are a few pictures of what I made this month:
| Carmel Apple Pie Cookies- Yum! |
Of course there were costumes to be made this month. I brought up the question of costumes while we were in Disney World in August, which lead to my kids choosing this:
| Sorcerer Mickey and his enchanted broom- ready to Trick-or-Treat. |
Sorcerer Mickey and his enchanted broom! My oldest bought the hat and hands at WDW, so I just had to make him a red robe. I waited for patterns to go on sale and picked up a robe pattern for $1 at Joann's. For my youngest, I used a PJ pattern and cut the pants EXTRA wide. I ended up deciding I needed some more length for extra volume at the waist so I altered it a bit there. I also put in elastic casings (using bias tape) at the ankles and cut the cuffs into zig-zag fringe, rather than hemming. The water buckets were two plastic pails that I lined with sequin dot fabric and covered on the outside with fun foam strips. I left the lining fabric extra long, so it pooled on the inside of the bucket and could be "poured" out.
After the broom costume got worn twice (we do our neighborhood trick or treat early, and then there was trunk-or-treat at school) we decided that perhaps it wouldn't be the best choice for the school costume parade and class party, so we ran out to Salvation Army and picked up a white dress shirt to turn into a lab coat. The cuff that were cut off of the sleeves turned into pockets. He made a great scientist!
| A lab coat fit for a second grader. |
Finally, on Halloween afternoon, we carved our pumpkins before heading over to my in-laws for more trick-or-treating.
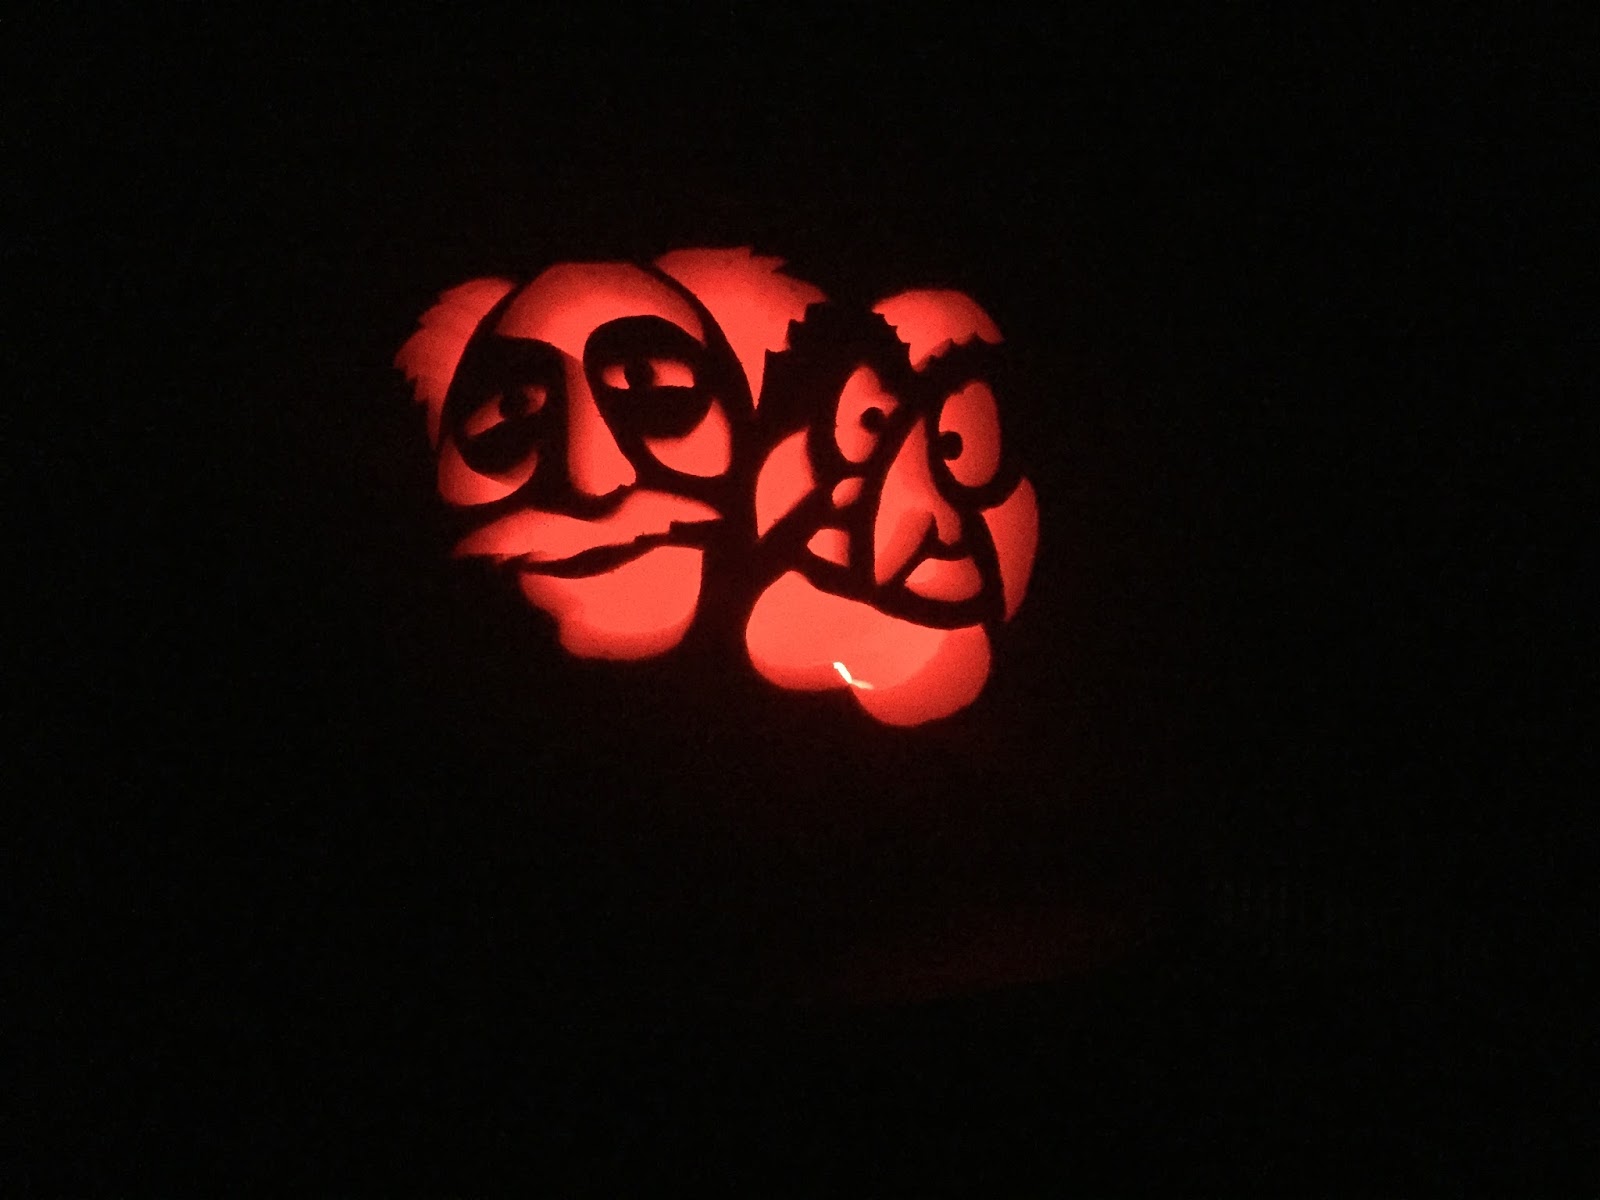
That's Benny (from The Lego Movie), a vampire minion, and Snoopy in the top row (carved by my oldest, youngest, and husband, respectively) and Statler and Waldorf (from the Muppets, and carved by me) below. I found the patterns online, but sadly can't remember where!
I also made a birthday card this month, but forgot to take a picture of it! Oh well! Can't wait to see what November brings.
Monday, September 28, 2015
Total Lunar Eclipse
Okay, so I didn't make it, per se, but here are a couple of pictures I took of Sunday's total lunar eclipse using my iPhone 6 and a telescope. I didn't do anything fancy... just held the camera lens up to the eye piece of the telescope. It took a little bit of fussing to get the image on screen, but I think they turned out pretty good!
Wednesday, August 5, 2015
A Seasonal Set
The current challenge over at Art Impressions is called "Create a Card Set". The idea is to make a set of at least three cards that go together in some way. I decided to use the watercolor tree and branch stamps to make a set of seasonal trees for my cards.
Honestly, I first saw the tree used this way on product packaging at the Art Impressions booth at the Adventures in Stamping Rubber Stamp Show in Akron, OH in 2014. It was the first time I saw these stamps, and I must have spent at least two hours that weekend watching Bonnie create little watercolor masterpieces! I have spent time watching her work her magic twice more since then (in Akron again this year, and just this past weekend in Novi) and I still love every second of it.
Okay, so on to the cards. There is one for each season. The winter card gave me a chance to try using masking fluid to make the "snow". It was amazing to rub it off at the end and see the result.
Each of the cards was made using just the tree and branch stamps and a collection of water based inks (a few Marvy Markers, some Stampin Up! markers, and some distress inks). The trees were stamped on watercolor paper and mounted on patterned paper I printed from my computer to match each tree. I left the insides blank for the recipient of the bundle to write their own greeting.
To finish off the set, I stamped and die cut a nice seasonal sentiment. I cut two slits on either end of the die cut to run some seam binding through and tied all four card together into a bundle with a bow.
Here are pictures of each of the individual cards and the set with the greeting (click on them to enlarge!).
Honestly, I first saw the tree used this way on product packaging at the Art Impressions booth at the Adventures in Stamping Rubber Stamp Show in Akron, OH in 2014. It was the first time I saw these stamps, and I must have spent at least two hours that weekend watching Bonnie create little watercolor masterpieces! I have spent time watching her work her magic twice more since then (in Akron again this year, and just this past weekend in Novi) and I still love every second of it.
Okay, so on to the cards. There is one for each season. The winter card gave me a chance to try using masking fluid to make the "snow". It was amazing to rub it off at the end and see the result.
Each of the cards was made using just the tree and branch stamps and a collection of water based inks (a few Marvy Markers, some Stampin Up! markers, and some distress inks). The trees were stamped on watercolor paper and mounted on patterned paper I printed from my computer to match each tree. I left the insides blank for the recipient of the bundle to write their own greeting.
To finish off the set, I stamped and die cut a nice seasonal sentiment. I cut two slits on either end of the die cut to run some seam binding through and tied all four card together into a bundle with a bow.
Here are pictures of each of the individual cards and the set with the greeting (click on them to enlarge!).
Sunday, July 19, 2015
Lloyd the Leopard
Meet Lloyd the Leopard. My oldest and I made him the other day using the free pattern available from Sew Mama Sew, and (designed by LiEr from www.ikatbag.com). The pattern is intended to make a racoon, but we just left off the eye patches, claws, and tail stripes. He is made from some crazy printed fleece he found at Joann Fabrics and just had to make a "cuddle friend" with, along with some scraps of black fleece from home, a pair of safety eyes, and a bit of embroidery floss for the mouth.
The oldest got his own sewing machine for Christmas, and he sewed the arms, legs, tail, and inside pellet pouch, as well as the stuffing and some of the hand sewing of the hole in the back through which Lloyd was stuffed. I did the ears and the rest of the overall construction, since I didn't think his machine would handle the layers of fleece very well. He did a great job!
I think we will need to head back to Joann's to pick out some fleece for the youngest to make a new friend out of as well!
Tuesday, July 14, 2015
Another Sympathy Card
This card is a sympathy card made using more Art Impressions Watercolor stamps. This was my first attempt at using the pathway, and I think it turned out pretty good.
Subscribe to:
Posts (Atom)